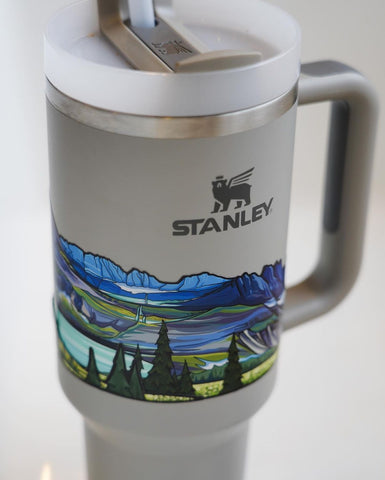
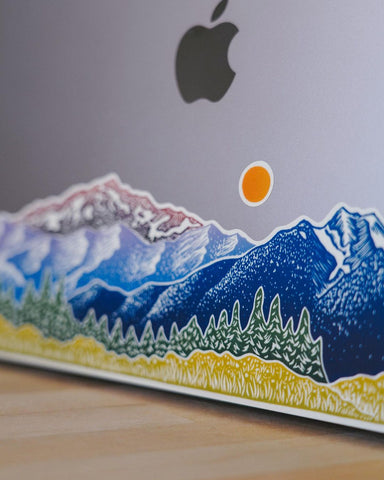
We've all experienced the sinking feeling of a freshly applied sticker marred by unsightly air bubbles. But fear not, fellow sticker enthusiasts! With a few simple techniques, you can master the art of how to apply stickers flawlessly – whether they're laminated stickers, waterproof stickers, or even intricate die-cut creations. The thrill of transforming a plain surface with a pop of personality shouldn't be overshadowed by application anxiety.
Whether you're covering your laptop with quirky characters, customizing your water bottle with inspirational quotes, or adding a touch of whimsy to your phone case, knowing how to apply stickers properly ensures a polished and durable result. From preparing your surface to achieving a bubble-free finish, we'll guide you through the process step-by-step. So, dust off your sticker collection, grab a few essential tools, and get ready to unleash your creativity without the worry of imperfect sticker application!
Lets Dive into the Art of How to Apply Stickers
Why Tackle the Bubbles?
While a few tiny bubbles might seem harmless, they can actually detract from the overall look and functionality of your sticker. Bubbles can distort the design, making it appear blurry or uneven. In the worst-case scenario, they can even lift the edges of the sticker, shortening its lifespan. But worry not, with the right approach, you can achieve a smooth, professional-looking application every time.

Prepping for Sticker Success:
- Surface Matters: Ensure the surface you're applying the sticker to is clean, dry, and free of dust, oils, or residue. Give it a quick wipe with a lint-free cloth for good measure.
- Sticker Prep: Some stickers, particularly laminated ones, might benefit from having their backing sheet peeled slightly at an angle – this creates a "hinge" for easier application.
Tools of the Trade:
While not essential, certain tools can significantly enhance your sticker application experience:
- Squeegee: A credit card, ID card, or even a ruler wrapped in soft cloth can serve as a makeshift squeegee. Its purpose is to smoothly glide over the sticker, pushing out any trapped air bubbles.
- Application Tape: For particularly intricate die-cut designs, consider using transfer tape to hold the sticker together during application. It allows for precise placement and easy removal once the sticker is firmly adhered.
The Art of Application:
- Start slow and steady: Peel a small portion of the backing sheet, aligning the exposed sticker adhesive with your desired placement.
- Gently press down: Use your fingers or a squeegee to gently press the exposed adhesive area onto the surface, starting from the center and working your way outwards.
- Banish the bubbles: As you press, use the squeegee (or your chosen tool) to push any emerging air bubbles towards the edges. Work carefully, avoiding applying too much pressure that could damage the sticker.
- Peel and repeat: Continue peeling the backing sheet in small sections, following the same pressing and smoothing technique until the entire sticker is applied.
- Final touches: Once complete, give the sticker a final gentle press to ensure full adhesion. If using application tape, carefully peel it off at an angle to avoid lifting the sticker edges.
Bonus Tips for Sticker Champions:
- Warm it up: For stubborn materials like metal or glass, consider using a hairdryer (on low heat) to slightly warm the surface before applying the sticker. This can improve adhesion and make bubble removal easier.
- Patience is key: Don't rush the process! Take your time and apply the sticker with care to avoid wrinkles or tears.
- Practice makes perfect: As with any skill, the more you practice applying stickers, the smoother and more adept you'll become.
The Power of the Perfect Sticker:
Ready to transform your world with the power of stickers? Whether you're using laminated stickers to add personality to everyday items, bumper stickers to showcase your beliefs, or intricate vinyl decals to customize your car, proper application is key. Remember, a flawlessly applied sticker not only looks amazing but also ensures durability, making your statement last.
Now you are a sticker professional!
With these tips in mind, you'll master the art of how to apply stickers like a pro. Ensure the desired surface is clean and dry, carefully peel away the backing, and position your sticker with a steady hand. Gently press down, working out any air bubbles with a credit card or squeegee. For larger or more complex decals, consider techniques like the 'hinge method' covered in our in-depth guide on how to apply stickers.
From laptops to water bottles, notebooks to phone cases, and countless other surfaces – the world is your sticker canvas! Let your creativity shine, add a splash of personality, and spark conversations with perfectly placed stickers. So, go forth and stick it to the world – confidently and bubble-free!
Click here to get started with your custom stickers from Stickers for Days.


